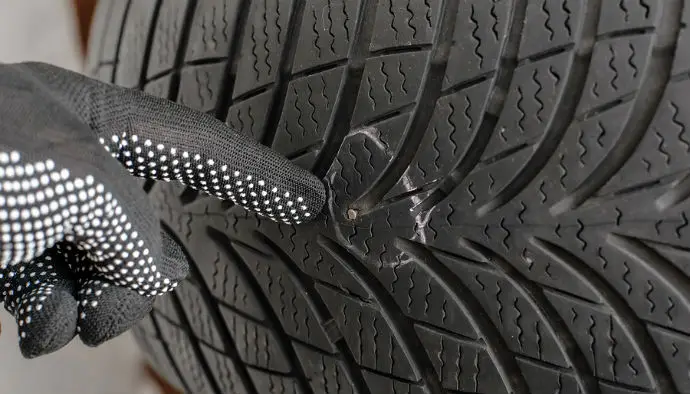
Every now and then, you will encounter some inconvenience as a car owner and one of those would involve your tires. There will be instances that you will experience having a nail stuck in your tire and believe it or not, your car can still run even when that happens.
If you ever asked yourself how to remove a nail in my tire because you are currently in this situation, you're in luck as I teach you the ways to solve it. There is no need for you to freak out because you'll get through it and you would even be surprised at how easy it is to begin with.
More...
Things You Need For This Tutorial
- Tire Pressure Gauge
- Air Compressor
- Pen
- Paper
- Spare Tire
Process Of Removing A Nail In Your Tire
Tire Pressure Check
The first thing to do when you realize that there is a nail stuck in your tire (no matter how big or small it is), is to check your car's tire pressure. This is the part when a tire pressure gauge becomes handy, so always keep it in your car tools.

In order to do this, you will need to know first how to use your tire pressure gauge. Here is the process and you must do it as follows:
1. Check Your Tire's PSI:
The measurement of your tire's pressure is Pounds Per Square Inch. The standard PSI of your tire is usually found in your car's manual. It is important that you know this in order to know how far should you adjust your car's current tire PSI after it was hit by a nail.
Note: You must know that there are different standard PSI for every tire in your car, which means the PSI on the rear could be different from the ones at the back. Contact your car manufacturer if you don't have the information with you.
2. Using The Tire Pressure Gauge:
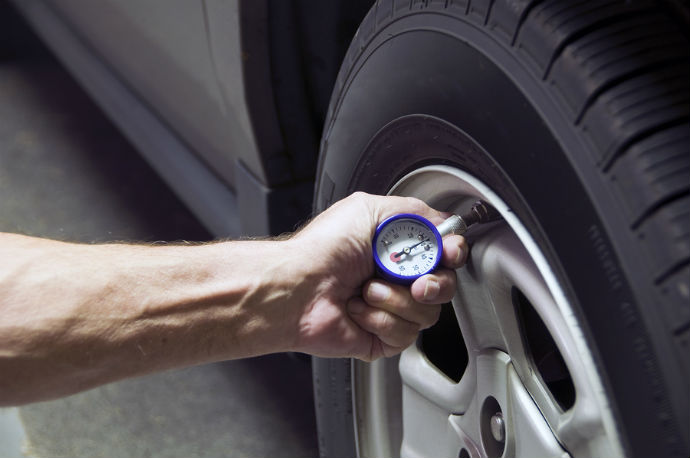
As you handle the affected tire, you will notice a valve cap that is attached to it. Once you see that, make sure that you remove it and replace it with the pressure gauge. You will see a valve stem after taking off the valve cap, that is where you must place the gauge.
3. Attaching The Gauge:

It is really not that complicated to deal with this, as you will need to do now is press the tire pressure gauge. You need to do that until you finally don't hear some hissing sound like an air trying to escape the tire. This is also the only time that the gauge could give you the right read that you need.
4. Reading The Measurement:
If you have the traditional pressure gauge, a small bar will be pushed out by the air pressure released by the gauge. It will be coming from the bottom of the device and the units are marked in the bar itself.
Note: I would suggest to just buy the digital ones because you won't have to manually deal with the reading, as the measurement of your tire's pressure will be flashed on the screen the minute you start attaching it and pressing it hard.
5. Jot It Down:
In order to not forget the measurement, get a pen and paper and record it. I would also ask you to do the same to the unaffected tires for future references.
Pulling Out The Nail From The Tire

Now, it would always depend on the level of depth that the nail has gotten in your tire. If it is just on a surface level, which means it is not too deep to completely deflate the tire, you can always just pull it out.
It is important to just make sure that your tire has the right amount of air in order for you to continue driving safely. That being said, I'm here to teach you the next part of the process as soon as the nail is out of the way.
Filling In The Tire Air

1. Air Compressor Trick:
Once you have the reading correct and notice that it doesn't match the standard PSI rate of your car's tire, it is now time to refill your tire with air to complete the required PSI of the tire.
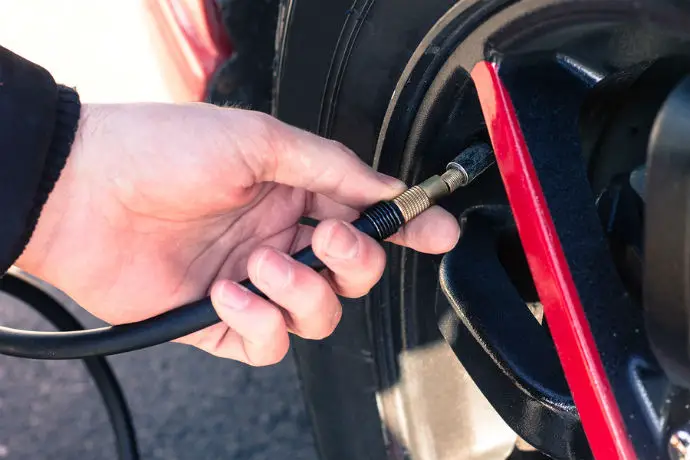
Inflate your tires with a high quality tire inflator or an air compressor. You can purchase these items in car shops, hardware shops, or borrow one from the nearest gas station. Use low pressure first then gradually apply more.
Note: Using the ones in a gas station would be different from the ones you buy at the store because here you will need to press a lever to release the air.
2. Adjust Inflation:
Soon as you start filling the tire with air, make sure that you adjust it, especially when it is considered hot. Make it a point that it is about 4 PSI higher than the allowed inflation pressure when it is a cold tire. Don't forget to check the pressure of applied inflation when the tire reached the cold status.
3. Keep The Air Pressure Right:
You must check the status of your tire periodically, especially when you are in it for a long drive. You have to be sure that your tire is also not overly inflated because that could cause for it to burst while the car is running.
Here is also a video on how you could do it. I figured it would be handy for all you visual learners out there.
Conclusion
Just because you have a nail stuck in your tire doesn’t mean you can no longer drive your car. Most of the time, it is easy to get away with it and you would still be able to reach your destination even when you happen to experience this inconvenience in your car.
Worse case scenario is when the nail happens to really sink in deep into the car, then it means you have no choice but to get your spare tire and replace the damaged one.
